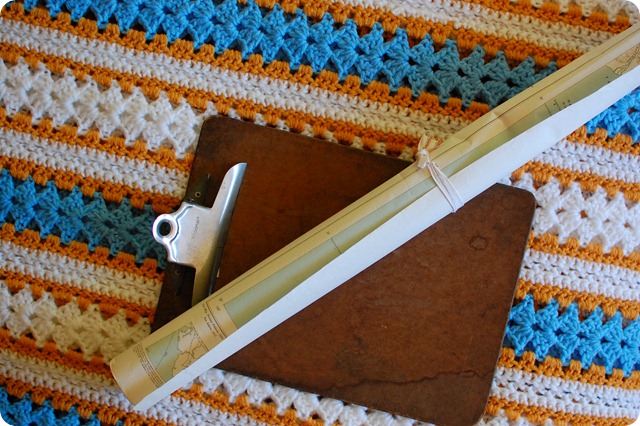
I got several maps for $2/each at Farm Chicks this past summer.
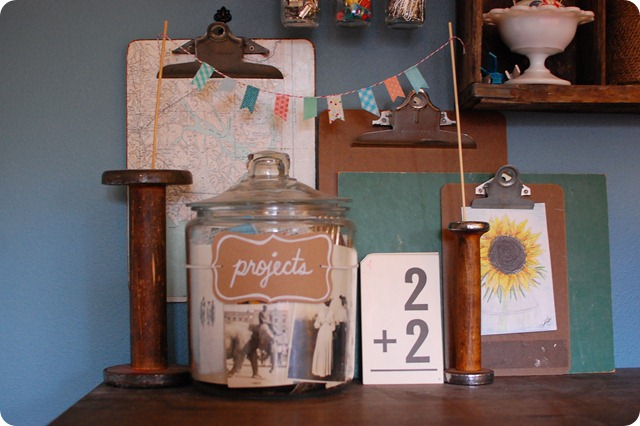
And I have a serious stash of clipboards going on. I buy every one I see at thrift stores and have no purpose for them and bring them home and layer them leaning against the wall on my desk. Then I slowly find projects for them. I made a chalkboard out of one this summer. And eventually I’d like to have a wall of ‘em, like this one.
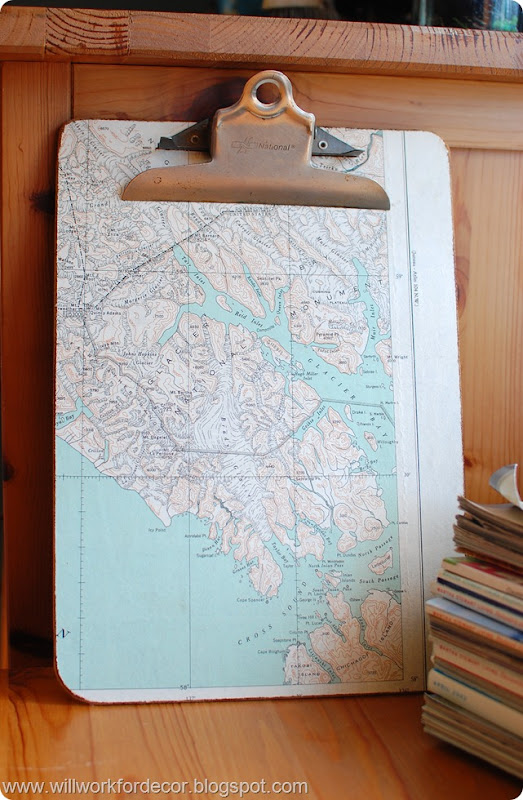
With this one, I decided to combine my map love and my clipboard love.
I simply traced an outline of the clipboard onto the map with pencil and cut it out.
Then I had to cut out a hole in the top end for the clip bracket. This was tricky. I have no magic advice for you. I used a scratch piece of paper and practiced fitting, tracing, and holding it in place and slicing with an exacto knife. Then when I kind of had it figured out, I did it with the map paper.
Then I worked in small sections (rows) and Mod Podged the map onto the clipboard from top to bottom.
Then I used sand paper to sand the edges; this just makes it look softer and hides any cutting mistakes you made.
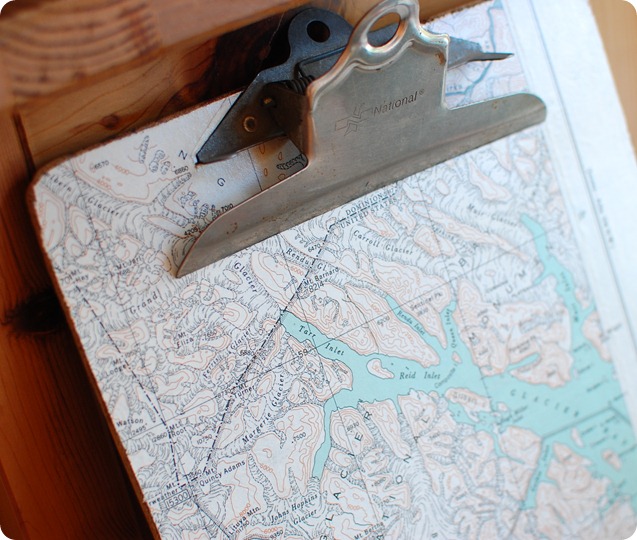
When the Mod Podge had dried (I’ve learned letting the adhering coat dry before applying the topcoat is the trick to avoiding bubbles and wrinkles) I added another coat over the top to protect the map.
That’s it!
It now hangs above my desk, next to some clipboard cousins...
Pretty easy. I think it’s really cute. Plus, I’ve even used it – so it’s totally functional! HA!
Hope you have a good weekend! Godbless!
No comments:
Post a Comment